


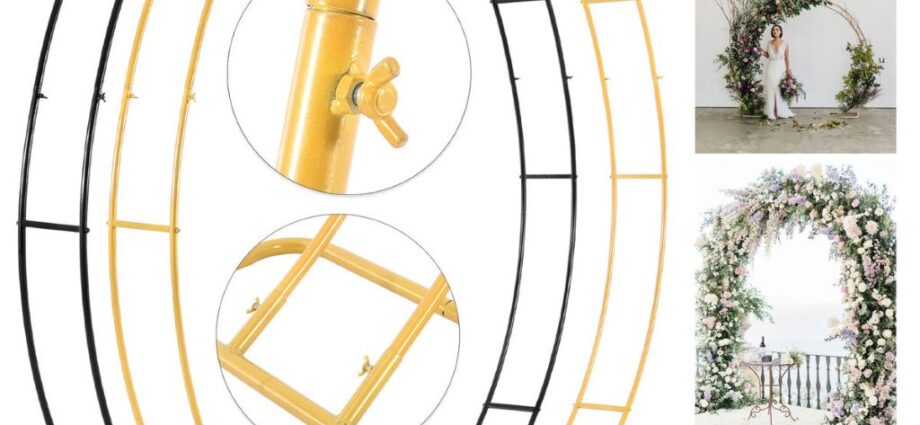
A backdrop stand is an incredibly useful photography accessory that allows you to hang backdrops for portrait sessions and product photography. While high quality stands can be expensive to purchase, you can easily make your own at home for a fraction of the cost. Making your own backdrop stand takes some basic DIY skills, but it is a straightforward weekend project. With some PVC pipe, wood, and misc hardware, you’ll have a custom photography tool that looks professional and works great.
In this beginner’s guide, you’ll learn how to make a backdrop stand. So if you’re ready to take your photography to the next level, let’s get started!
The Benefits of Owning a Backdrop Stand
Before we dig into the DIY process, let’s look at why a backdrop stand is such an indispensable photography tool.
Portability – Backdrop stands fold down into thin rods, making them easy to transport to any location. You aren’t limited to shooting in a studio.
Flexibility – You can hang a variety of backdrops, from fabric to paper on a stand. Switch them out as needed for each client or project.
Creativity – Get more creative with backgrounds by easily changing them out. Use the same stand for family photos, senior portraits, product ads and more.
Professional Results – Backdrops look smooth and wrinkle-free on stands, leading to images that rival professional studios.
Durability – Homemade stands made of wood and steel are sturdy and built to last through years of regular photography work.
Clearly, backdrop stands open up immense creative possibilities while making on-location work easier. If that appeals to you, then let’s start this DIY!
Materials Needed
While every DIY backdrop stand design is a little different, they all use similar core materials. Here is an overview of the essential items you’ll need:
PVC Pipe
PVC pipe serves as the lightweight but sturdy skeleton of the stand. Purchase the following lengths:
- 8 x 10ft lengths (for the upright supports)
- 4 x 3ft lengths (for the crossbeam frames)
- 2 x 5ft lengths (for front stabilizer bar)
1⁄2 inch diameter pipe is best for most backdrop sizes. Make sure everything is Schedule 40 for maximum durability.
Corner Joints
The PVC pipes connect together with corner joints, making assembly simple. You’ll need:
- 16 x 3-way corner joints
- 4 x 4-way cross joints
Again, ensure all joints match the 1⁄2 inch pipe diameter.
Backdrop Poles
While the PVC frame provides overall structure, you’ll need horizontal poles to attach backdrop fabric to. Get two 3⁄4 inch diameter wooden dowels cut to 8ft in length.
Sand and stain them to give them a nice finished look. You can also use steel pipes if desired.
Base Platform
The frame attaches to a wooden platform base for stability. One 12 inch x 24 inch piece of 5⁄8 inch plywood is ideal.
Use glue and screws during assembly to make it extra secure. Paint or stain the wood as desired.
Misc Hardware
Finally, gather misc. hardware:
- Wood screws
- Corner braces
- L-brackets
- Nuts and bolts
These parts allow full customization and a study build.
Tools
For putting it all together, you’ll want access to basic DIY tools:
- Power drill
- Saws (for cutting wood and PVC pipe)
- Wrenches
- Screwdriver
- Safety gear (glasses, gloves, etc)
And that covers everything you’ll need! Most items are available at any hardware store. Now let’s jump into the building steps.
Constructing the Frame
With your materials and tools gathered, it’s time for the fun part: building your backdrop stand masterpiece!
Follow these steps:
Step 1: Cut PVC Pipe
Start by measuring and cutting your PVC pipe according to the lengths mentioned earlier.
Use a small hacksaw or pipe cutter for clean cuts. Sand any rough edges.
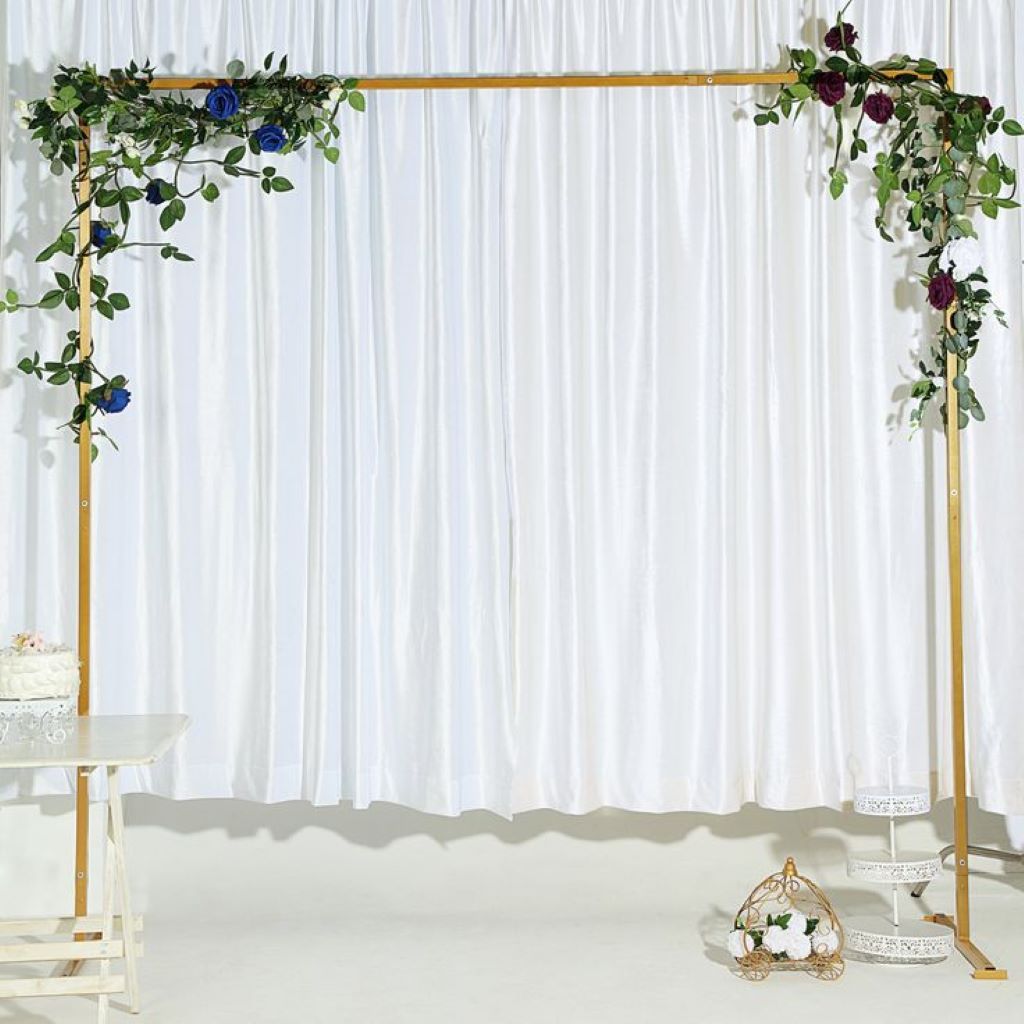
Step 2: Assemble Top Frame
Next, construct the top frame. This gives the stand height and holds the backdrop pole.
Take two 10ft lengths and join them together into a rectangle using four 3-way corner joints.
Then take two 3ft lengths and join them end-to-end. Connect them to the uprights with two 4-way cross joints to complete the frame.
Step 3: Attach Base Platform
Now grab your plywood base platform. Place the frame upside down on top and center it.
Use L-brackets to bolt the vertical pipes firmly to the base at the bottom and midpoint for security.
Step 4: Add Front Stabilizer Bar
With the frame upright and secured, improve stability further with a crossbar at the bottom.
Take two 5ft PVC lengths and join together with one 3-way corner joint. Attach to base of each vertical pole with remaining L-brackets.
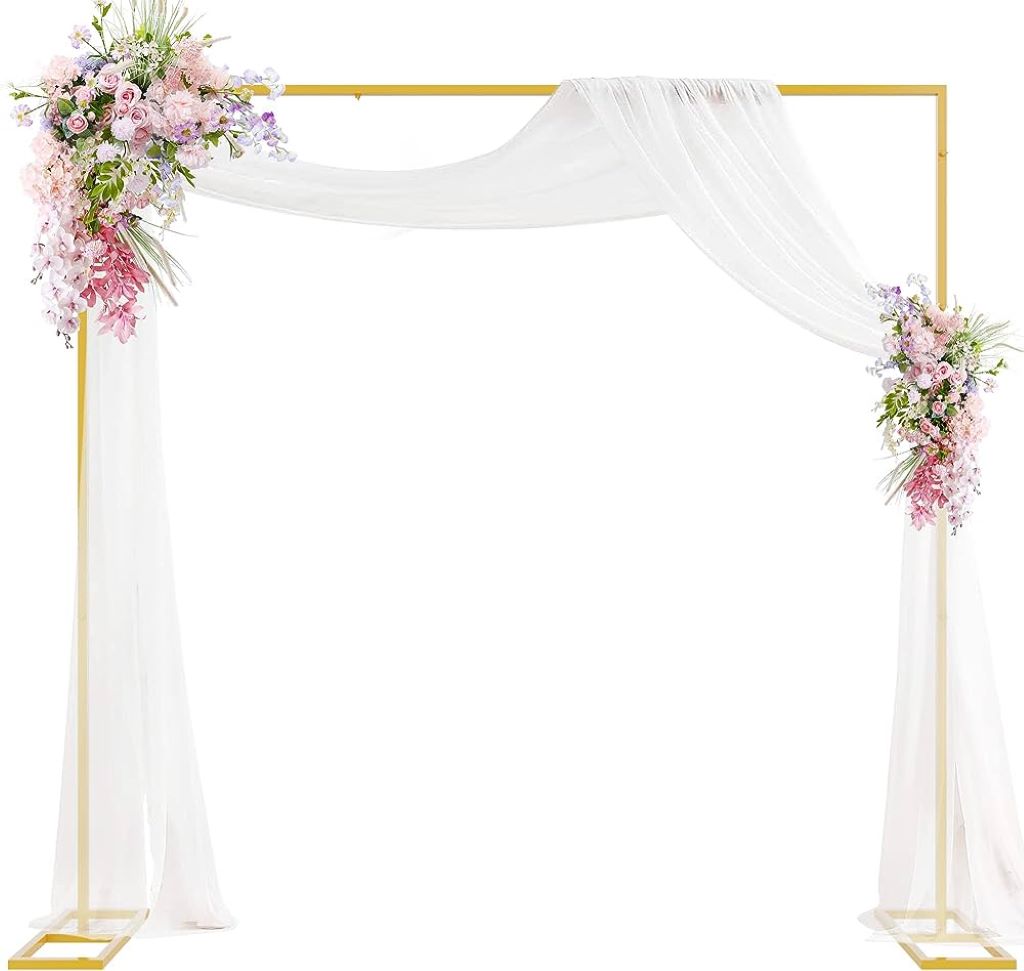
Step 5: Attach Backdrop Poles
Moving up, insert the two wooden backdrop poles through the holes in the 4-way cross joints as shown below.
Center and secure them with nuts and bolts so they don’t slip down.
Step 6: Add Supports (Optional)
For extra reinforcement, attach triangular corner braces at the critical joints using glue and screws. Let dry completely.
Step 7: Touch Up Details
Finally, go over the stand to ensure every joint is tightly fastened and secure. Paint any exposed wood, then do a final safety check.
And just like that, you now have a handmade backdrop stand ready for action! Nice work.
Setting Up Your Backdrops
You built this nifty photography tool…now what? Here are some best practices for making use of your new backdrop stand:
Location Selection
Place your stand near an outlet, allowing you to plug in any needed lights. Ensure ample open space around for positioning subjects.
Wrinkle Removal
Before hanging fabric backdrops, thoroughly shake them out and use a garment or wand steamer to remove any creases or wrinkles.
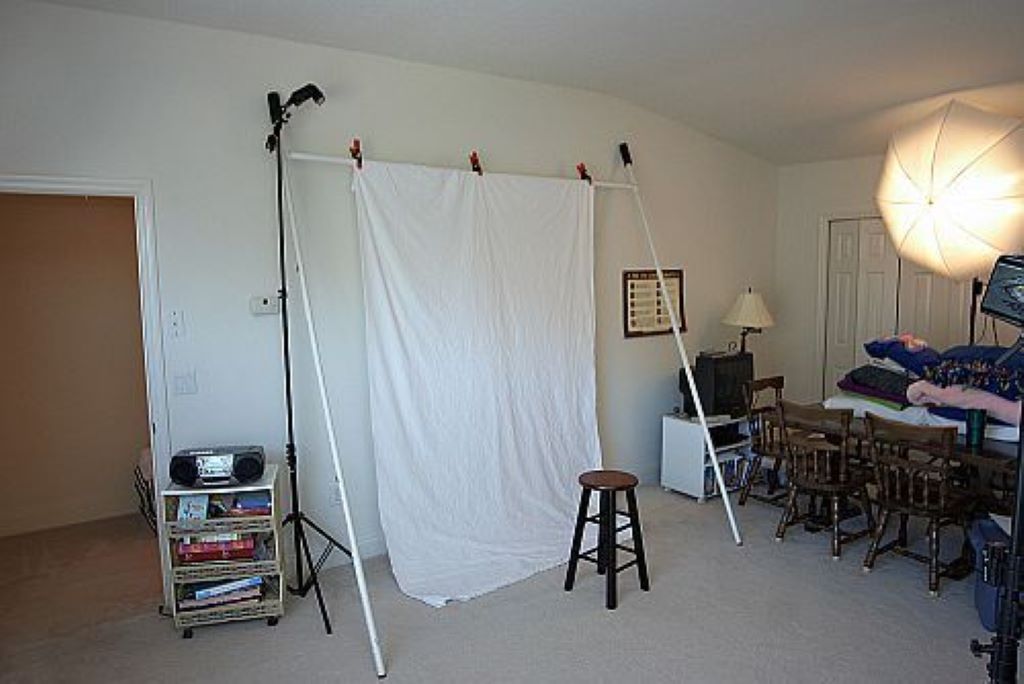
Backdrop Hanging
Use quality clothespins to neatly secure the top edge of fabric backdrops to the horizontal poles. Pull the fabric fully taught.
Proper Studio Lighting
Use continuous photography lights for true color rendition. Position as needed to light the backdrop separate from your main subject lighting evenly.
Safety First
Ensure pets, kids, clients and everyone remain cautious around the metal poles and heavy sandbag weights for stability.
And with that, you have a fully functioning photography backdrop stand setup ready to elevate your image quality!
Have fun coming up with creative ways to use your new stand. The possibilities are endless.
Frequently Asked Questions
How durable is a homemade PVC backdrop stand?
Very! Using thick Schedule 40 steel pipes and quality corner joints, DIY stands can easily last 5+ years of regular studio use. Much more affordable than buying that longevity!
Does it require special skills to assemble?
Not at all. As long as you have access to basic DIY tools and some patience, constructing a backdrop stand only requires simple measuring, cutting, screwing and gluing. Easy weekend project, even for total beginners!
How heavy is a PVC backdrop stand?
The lightweight pipes result in a portable frame. A typical 8x10ft stand weighs under 15lbs fully assembled! Add sandbags if using outdoors.
What backgrounds work with these stands?
You have choices! Medium weight canvas and muslins work great. Paper backdrops are suitable if using indoors. And fabric blends like polyester display nicely while being wrinkle-resistant.
Can I hang a green screen on this kind of stand?
Absolutely! The wooden backdrop support rods have chucks for grip equipment like small c-hook clamps. This allows you to neatly hang green screens, lighting rigs, reflector discs and more. Extend your creativity!
Conclusion
I hope this guide, how to make a backdrop stand served as a helpful introduction to building your very own professional photography backdrop stand affordably using basic DIY retailer parts.
While the process involves some effort, the ability to hang seamless backdrops that result in dramatically better shots is invaluable. This can level up product photos, headshots, senior pictures and anything else you shoot.
The customization options are endless, too. Adjust dimensions as needed and get creative, integrating useful accessories via the wood chucks atop the frame.
Transform your workplace into a festive wonderland with Christmas decoration ideas for office walls; consider utilizing backdrop stands to effortlessly display cheerful banners and ornaments that not only bring instant holiday joy but also provide reliable performance long-term, ensuring a festive ambiance for years to come.