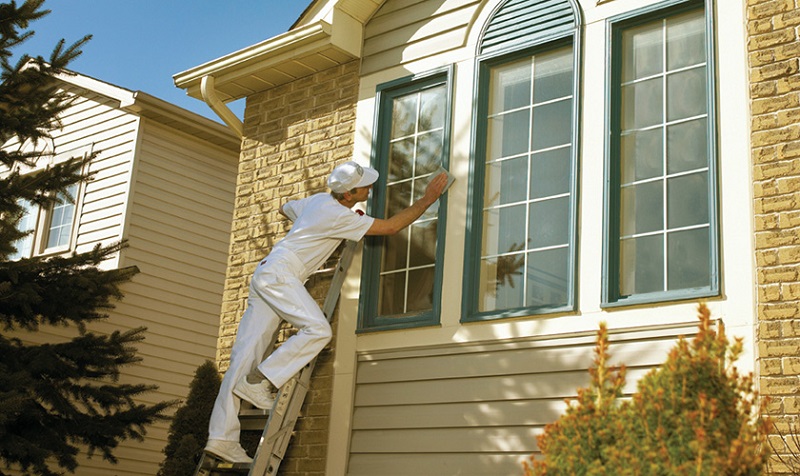
If you’re looking to give your home’s exterior a fresh and vibrant makeover, painting the walls is an excellent way to do so. When painting your exterior walls, it’s important to take the necessary steps to ensure a durable and beautiful finish. This includes properly preparing the surface by cleaning, repairing any damages, and applying a primer.
Once the surface is ready, you can begin applying your chosen paint color, such as a rich cherry wood paint that will add warmth and character to your home’s exterior. Remember to use long, even strokes and allow sufficient drying time between coats for the best results. In this guide, we’ll take you through how to prepare exterior walls for painting, ensuring that your project results in a beautiful and professional-looking outcome.
Understanding the Importance of Preparation
Before we jump into the nitty-gritty of preparation, let’s discuss why it’s so essential. Properly preparing your exterior walls sets the foundation for a successful paint job. Not only does it enhance the appearance of your home, but it also increases the paint’s longevity and durability. Think of it as creating a clean canvas for your artwork – the better the canvas, the better the final piece.
Gathering Your Tools and Materials
Just like any project, having the right tools and materials at your disposal is crucial. Here’s a checklist of items you’ll need:
- Pressure Washer: To remove dirt, grime, and loose paint effectively.
- Scraper: For scraping off any peeling or chipped paint.
- Sanding Materials: To smooth out rough areas and create a uniform surface.
- Cleaning Solution: A mixture of water and mild detergent for thorough cleaning.
- Painter’s Tape: For protecting areas you don’t want to paint.
- Caulk and Caulking Gun: To seal gaps and cracks.
- Primer: A crucial step for better paint adhesion.
- Paint Rollers and Brushes: For applying the paint smoothly.
Step-by-Step Preparation Process
1. Clear the Area
Before you start any work, clear the area around your walls. Move any obstacles, outdoor furniture, or decorations to ensure easy access.
2. Clean the Walls
Using a pressure washer, clean the exterior walls thoroughly. This removes dirt, mold, mildew, and any loose paint chips. Start from the top and work your way down to prevent streaking.
3. Scrape and Sand
Inspect the walls for any peeling or chipped paint. Use a scraper to gently remove these areas. Once done, sand the walls to create a smooth and even surface for painting.
4. Repair Gaps and Cracks
Check for gaps, cracks, and holes in the walls. Use caulk to seal these imperfections. This step ensures that moisture and air don’t seep into your walls, causing paint to peel later.
5. Apply Primer
Applying a coat of primer is essential, especially if you’re changing colors. Primer helps the new paint adhere better and provides a consistent base color.
6. Protect Surrounding Areas
Use painter’s tape to cover areas like windows, doors, and trim that you want to keep paint-free. This step gives your project a neat and professional finish.
Painting Your Exterior Walls
With the preparation process complete, it’s time to bring out the colors and start painting!
1. Choose the Right Paint
Opt for a high-quality exterior paint that can withstand various weather conditions. Look for one with UV protection to prevent fading over time.
2. Start Painting
Use a paint roller or brush to apply the paint evenly. Start from the top and work your way down. Apply multiple thin coats for a better finish rather than one thick coat.
3. Pay Attention to Details
Take your time when painting around corners, edges, and other intricate areas. Use smaller brushes for precision, ensuring a polished look.
Conclusion
In conclusion, preparing your exterior walls for painting is a crucial step to achieve a stunning and long-lasting result. By following the step-by-step process outlined in this guide, you’ll create a smooth canvas that allows your chosen paint color to shine vibrantly. Remember, the key is in the preparation – take your time, be meticulous, and enjoy the transformation.
FAQs
Can I skip the primer if I’m using a paint-and-primer-in-one product?
It’s recommended to use a separate primer for better adhesion, especially on weathered surfaces.
Should I paint on a windy day?
It’s best to avoid windy days as debris and dust can ruin the paint’s finish.
How long should I wait between coats of paint?
Follow the manufacturer’s recommendations, but a few hours to overnight is generally sufficient.
Can I paint over a previously painted surface?
Yes, as long as you’ve properly cleaned and prepped the surface.
Do I need to hire a professional for this job?
While it’s a DIY-friendly project, hiring a professional can ensure a flawless finish, especially for larger projects.


