


Framing a hip roof is like creating the backbone of your home’s crown – a structure that not only supports but defines its character. In this guide, we’ll walk through the process of framing a hip roof, providing insights, tips, and answering the questions you might have.
Understanding the Basics
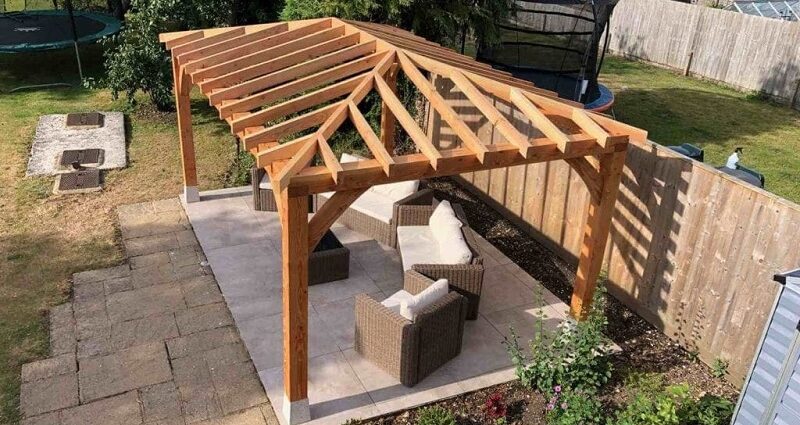
1. What Sets a Hip Roof Apart? Imagine a roof that slopes on all sides, forming a pyramid-like structure. That’s the charm of a hip roof. Unlike gable roofs with two slopes, a hip roof has four, meeting at a peak. This design not only looks fantastic but also offers better stability and wind resistance.
2. Why Choose a Hip Roof? The advantages go beyond aesthetics. A hip roof provides more space for an attic, better stability in high winds, and an overall elegant appearance. It’s a practical and stylish choice for homeowners looking for both form and function.
Gathering Your Tools and Materials
3. Essential Tools for Framing Before you dive in, make sure you have the right tools: a framing square, circular saw, level, and a sturdy ladder. These tools are your companions in crafting a hip roof that’s both durable and visually appealing.
4. Choosing the Right Lumber Quality lumber is the foundation of any successful framing project. Opt for pressure-treated or naturally resistant wood to ensure your hip roof withstands the test of time and weather.
Crafting the Framework
5. Understanding Roof Pitch Roof pitch determines the slope of your hip roof. It’s a crucial factor in framing. The pitch not only affects the aesthetic appeal but also plays a role in water drainage. A pitch of 4/12 to 6/12 is a common choice for hip roofs.
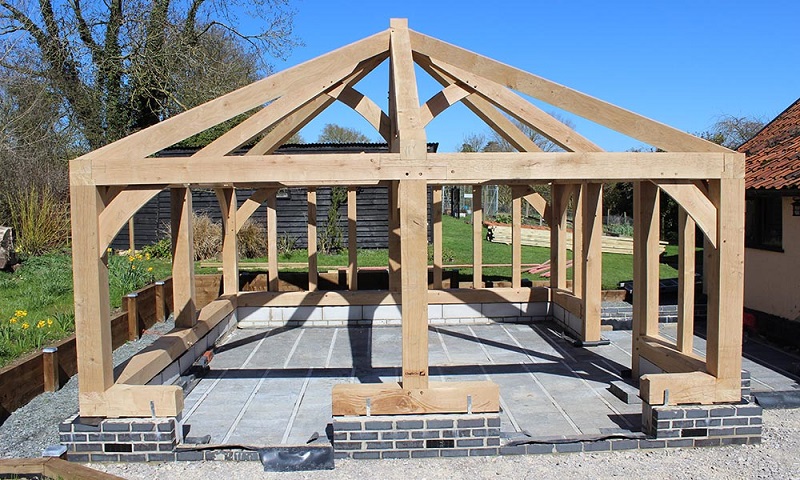
6. Framing the Ridge Board and Rafters Start by framing the ridge board, the horizontal piece at the top of the roof. Then, install the rafters, the angled pieces that support the roof. Precise measurements and cuts are key to a sturdy frame.
Adding Support: Hip Jacks and Valley Rafters
7. Incorporating Hip Jacks are the diagonal supports that connect the hip rafter to the corner of the building. They play a crucial role in distributing the roof load evenly. Install them with precision to ensure structural integrity.
8. Installing Valley Rafters are the components that form the internal intersection of two sloping roof surfaces. Proper installation is vital to prevent water leakage and maintain the overall strength of the hip roof.
Sheathing and Roofing
9. Applying Roof Sheathing Once the frame is in place, it’s time for sheathing. Use plywood or oriented strand board (OSB) to cover the frame, adding an extra layer of protection against the elements.
10. Choosing the Right Roofing Material From asphalt shingles to metal panels, the roofing material is the final touch. Consider durability, aesthetics, and climate when making your choice. A well-chosen material completes the look and ensures longevity.
FAQs (Frequently Asked Questions)
Q: Can I convert my existing roof to a hip roof?
Yes, it’s possible with a proper assessment of your structure’s ability to support the added weight and design changes.
Q: Do hip roofs cost more to frame compared to other designs?
While initial framing costs might be slightly higher, the long-term benefits often outweigh the initial investment in terms of stability and durability.
Q: Are hip roofs suitable for all climates?
Yes, hip roofs perform well in various climates, providing excellent resistance to wind and shedding snow easily.
Q: What’s the difference between a hip roof and a gable roof?
Unlike a gable roof with two slopes, a hip roof has four, meeting at a peak. This design offers better stability and a more elegant appearance.
Q: Can I add a skylight to a hip roof?
Certainly! The sloping design of a hip roof is perfect for incorporating skylights, adding natural light to your living space.
Conclusion:
Framing a hip roof is a rewarding journey that combines structural integrity with aesthetic appeal. Armed with the right tools, knowledge, and a touch of creativity, you can create a shelter that stands tall and stylish against the test of time.