


Tired of the endless drip, drip, drip of your bathtub faucet? A leaky faucet isn’t just an annoyance; it’s a waste of water and money. The good news is, fixing a leaky faucet is often a straightforward DIY project. Let’s dive into the steps involved.
Understanding Your Faucet
Before jumping in, determine your faucet type, as repair procedures differ:
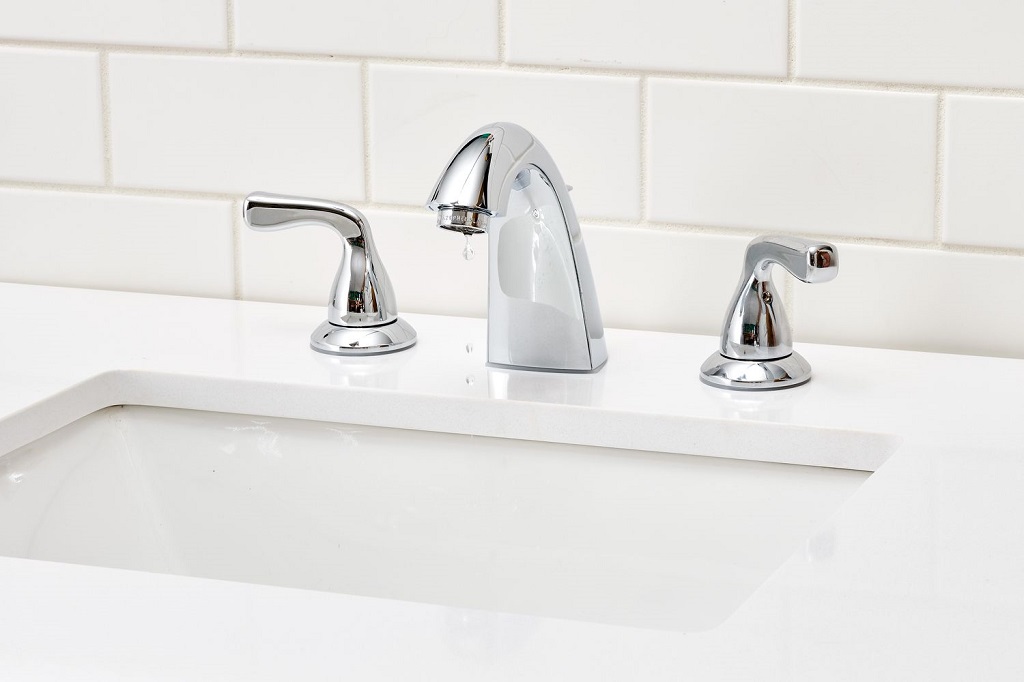
- Compression faucets: These have two handles, one for hot and one for cold water. Leaks in compression faucets usually stem from worn-out rubber washers.
- Single-handle faucets: These mix hot and cold water with a single lever. Single-handle faucets typically use a replaceable cartridge that can wear out.
- Other types (ball faucets, disc faucets): Less common, but may also develop leaks due to damaged seals or O-rings.
Gather Your Arsenal
- Adjustable wrench
- Screwdrivers (flathead and Phillips)
- Needle-nose pliers
- Plumber’s tape
- Plumber’s grease
- Replacement parts (washers, O-rings, or cartridge – purchase based on your faucet type)
- Cloth or towel
- Bucket
The Step-by-Step Fix
- Shut Off the Water: Locate your home’s main water shut-off valve, or the shut-off valves for the bathroom. Turn off the water supply to the bathtub.
- Open the Faucet: Drain any remaining water from the pipes.
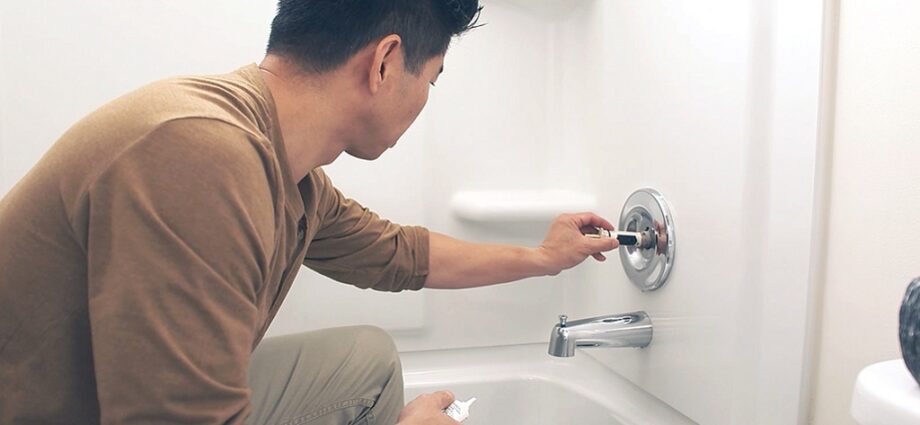
- Remove the Handle(s):
- Compression: Pry off the decorative cap on the handle, locate the screw, and remove the handle.
- Single-handle: There might be a decorative cap hiding a screw, or a set screw underneath or on the side of the handle.
- Remove the Trim (if any): This often means unscrewing the decorative plate (escutcheon).
- Access the Mechanism
- Compression: Unscrew the packing nut and pull out the stem assembly. That’s where you’ll find the washer.
- Single-handle: Remove the retaining clip that holds the cartridge. The cartridge typically lifts or twists out.
- Replace Worn Parts
- Look for wear and tear on the washer (compression) or O-rings/seals (other types). Replace them, applying plumber’s grease as needed.
- For cartridges, replace the entire unit. Ensure you get the correct replacement cartridge for your faucet model.
- Inspect the Valve Seat (Compression Faucets): The valve seat is where the washer seals when you close the faucet. Look for corrosion or unevenness. If damaged, you might need a special seat wrench to replace it.
- Reassemble Everything: Carefully reverse the steps, ensuring all parts are fitted correctly. Apply plumber’s tape on threads where needed.
Related: Defining Opulence in Bathroom Design
Extra Insights and Tips
- If you’re unsure of your faucet type, take photos: Plumbing supply stores can help identify the faucet and the correct replacement parts.
- Work slowly and methodically: Lay out parts in order as you disassemble, aiding reassembly.
- For significant leaks or hard-to-reach components: Consider calling a plumber.
- Regular maintenance is key: A little care, like replacing seals occasionally, prevents most leaks.
The Satisfaction of DIY Success
By diligently following these steps, you should have a leak-free bathtub faucet. Not only will you save water and reduce your water bill, but you’ll also gain the satisfaction of tackling a plumbing project yourself!
Important Note: Always use instructions specific to your faucet brand and model if available. These provide detailed diagrams and can avoid mishaps.