
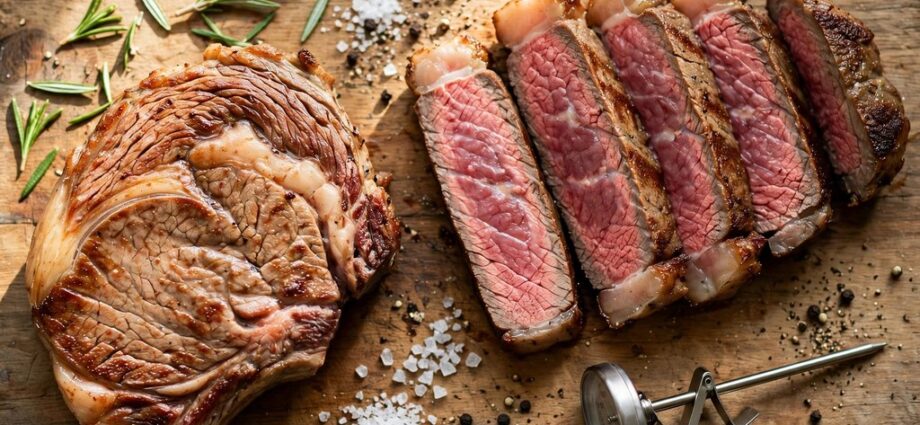
Use this steak cooking chart to cook steak to your preferred doneness every time. Check the internal temperature with a thermometer, then pull the steak at the right moment. Additionally, match the cooking method and thickness to the times in this guide. You will serve juicy, flavorful steak with confidence at every cook.
Temperature matters more than clock time alone for consistent results. Therefore, use temperature as your main guide and time as a helpful backup. Meanwhile, rest the steak briefly before slicing so juices stay inside the meat. Additionally, this guide covers grilling, pan searing, oven cooking, and air frying.
Why a Steak Cooking Chart Works
A good chart removes guesswork from a fast and high heat cook. First, choose your target doneness before you heat the pan or grill. Next, find the matching temperature range and the pull temperature for that level. Finally, check the steak early so you never overshoot your target.
Time alone cannot tell you when steak reaches perfect doneness. Thickness, starting temperature, and heat level all change cooking speed quickly. Additionally, a thick steak needs more time than a thin steak at the same heat. Therefore, always confirm doneness with a thermometer rather than color alone.
Color can mislead even experienced cooks during a busy cook. For example, a seared outside can look done while the center stays cool. Similarly, a pink center does not always mean rare or undercooked steak. Consequently, trust the thermometer reading over appearance every single time.
A chart also helps you plan the whole meal with less stress. You can time side dishes around the steak resting period with ease. Moreover, you can repeat a great result because you record what worked before. In addition, guests get consistent steak even when you cook several cuts.
Doneness Levels on the Steak Cooking Chart
Use this steak doneness chart to compare internal temperatures, pull temperatures, and the expected center color for each level of doneness.
| Doneness | Pull Temperature | Expected Center |
|---|---|---|
| Rare | 120–125°F | Cool red |
| Medium rare | 125–130°F | Warm red |
| Medium | 135–140°F | Warm pink |
| Medium well | 145–150°F | Slightly pink |
| Well done | 155°F+ | Little or no pink |
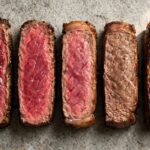
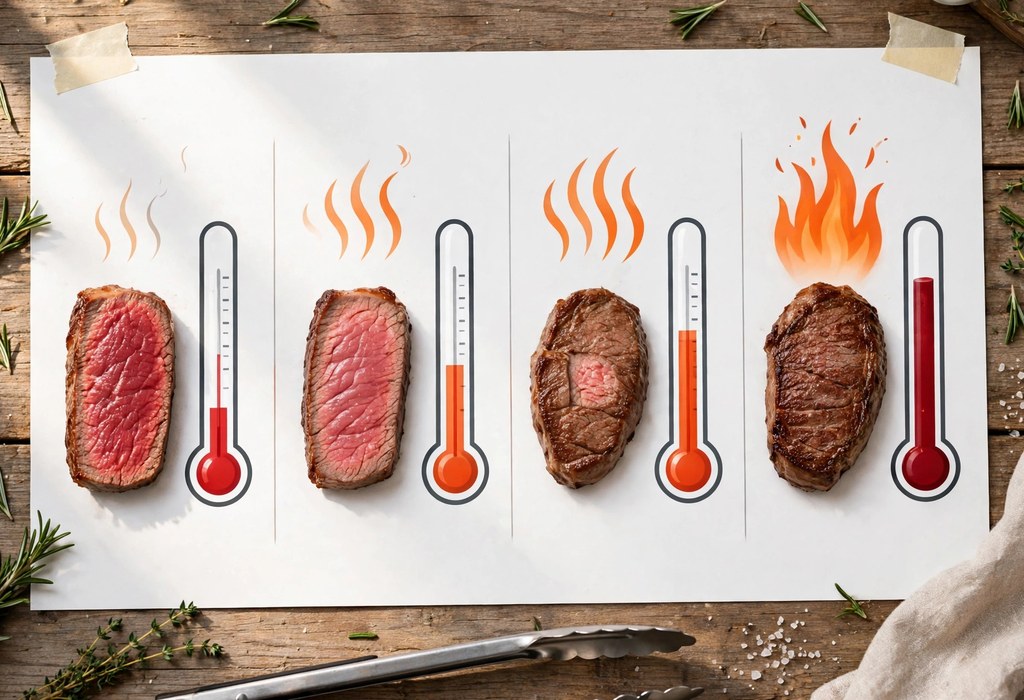
Each doneness level describes a center temperature and a texture you can expect. Rare steak feels very soft and shows a cool red center. Medium rare steak feels soft with a warm red center. Additionally, medium steak shows a warm pink center with a firmer feel.
Medium well steak shows only a slight pink center and feels quite firm. Well done steak shows little or no pink and feels very firm throughout. However, firmer steak often loses more juice during cooking. Therefore, choose the level that matches your taste and the cut you bought.
Use the ranges below as a starting point for your own taste. For example, pull steak a few degrees below your target temperature. Carryover heat will lift the temperature during the resting period. Meanwhile, keep notes on pull temperatures that gave you the best results.
Rare Steak
Rare steak offers a cool red center and a very tender bite. Pull rare steak near 120 to 125 degrees Fahrenheit for this level. Additionally, sear the outside quickly over high heat for color and flavor. Rest the steak briefly, then slice it and serve it right away.
Medium Rare Steak
Medium rare steak remains the most popular choice for many steak lovers. Pull medium rare steak near 130 to 135 degrees Fahrenheit for best results. The center stays warm and red, while the outside turns richly browned. Moreover, this level keeps plenty of juice without feeling raw inside.
A quick reference helps you remember these exact temperature ranges at the grill. For example, check the steak doneness temperature chart before you start cooking your next steak. It lists pull temperatures clearly for every doneness level you might want. Additionally, keep that reference near your cooking station for fast checks.
Medium Steak
Medium steak gives you a warm pink center and a firmer texture. Pull medium steak near 135 to 145 degrees Fahrenheit for this level. Furthermore, this level suits thicker cuts that need longer cooking time. Slice the steak across the grain for the most tender bite.
Medium Well Steak
Medium well steak shows just a hint of pink in the center. Pull medium well steak near 145 to 155 degrees Fahrenheit for this level. However, watch the thermometer closely because the window stays narrow. Consequently, check early and often as the steak nears your target.
Well Done Steak
Well done steak cooks through fully with little or no pink inside. Pull well done steak at 155 degrees Fahrenheit or higher for this level. Additionally, use lower heat near the end to avoid a dry outside. Rest the steak well, then slice thinly to keep each bite tender.
Guests often prefer different doneness levels at the same meal. Cook each steak to its own target rather than one shared time. Additionally, label resting plates so you track each steak easily. Moreover, slice a test piece only when a guest requests confirmation.
Core Temperatures and Carryover Heat on the Steak Cooking Chart
This pull-temperature chart shows how removing steak from the heat slightly early can help account for carryover cooking during the resting period.
| Target Doneness | Suggested Pull Temperature | Expected Final Temperature |
|---|---|---|
| Rare | 120°F | 120–125°F |
| Medium rare | 125°F | 130–135°F |
| Medium | 130–135°F | 135–145°F |
| Medium well | 140–145°F | 145–155°F |
| Well done | 150–155°F or higher | 155°F or higher |
Food safety guidance sets a minimum safe temperature for steak. Cook steak to at least 145 degrees Fahrenheit for food safety. Then rest the steak for at least three minutes before you slice it. Additionally, this minimum applies even when you prefer rarer steak levels.
Carryover cooking lifts the internal temperature after you remove steak from heat. Expect a rise of about 3 to 5 degrees Fahrenheit during resting. Thick cuts often rise more because they hold more heat inside. Therefore, pull thick steaks a little earlier than thin steaks.
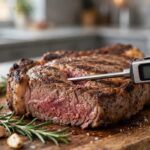
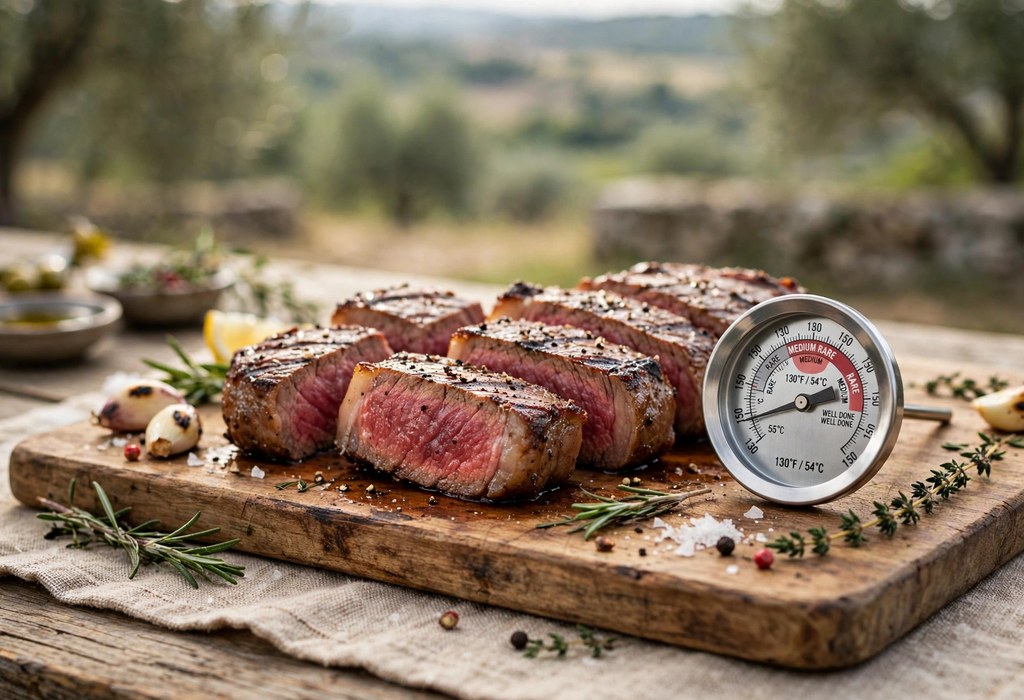
Insert the thermometer into the thickest part of the steak. Avoid touching bone or fat because those spots skew the reading. Moreover, check the center from the side for thin steaks. In addition, wait a few seconds for the reading to settle fully.
Write down your pull temperature and final temperature after resting. This habit helps you fine tune future cooks with real data. For example, note the cut, thickness, heat level, and resting time. Finally, adjust your next pull temperature based on those notes.
Thermometer placement errors cause many overcooked steaks at home. A probe near bone reads cooler than the true center temperature. Similarly, a shallow probe reads surface heat instead of center heat. Therefore, push the probe deep into the thickest center portion.
Grilling Steak with Confidence Using the Steak Cooking Chart
Use this cooking-method chart to choose an appropriate starting time and temperature-checking strategy for your grill, stovetop, oven, or air fryer.
| Cooking Method | Starting Heat | Approximate Cooking Time for a 1-Inch Steak | Best Use |
|---|---|---|---|
| Grilling | High heat | 4–6 minutes per side | Smoky flavor and grill marks |
| Pan searing | Medium-high to high | 3–6 minutes per side | Deep brown crust |
| Oven finishing | 400°F (205°C) | About 5–10 minutes after searing | Finishing thicker steaks |
| Reverse searing | 225–275°F (107–135°C), then high-heat searing | Varies considerably | Thick steaks with even centers |
| Air frying | 400°F (205°C) | About 8–12 minutes total | Convenient indoor cooking |
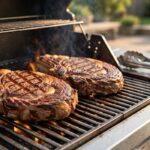
Grilling gives steak a smoky flavor and bold grill marks. First, preheat the grill until it reaches high heat across the grate. Next, oil the grate lightly to stop the steak from sticking. Then place the steak down and leave it alone to sear properly.
Flip the steak only once or twice during the whole cook. Frequent flipping cools the surface and slows crust formation. Additionally, move the steak to indirect heat if flames flare up. Meanwhile, close the lid between checks to hold steady heat.
Grill times vary with thickness, heat level, and starting temperature. A one inch steak cooks faster than a two inch steak. Consequently, start checking temperature earlier than the chart suggests. Furthermore, keep the thermometer handy from the first flip onward.
Steak Cooking Chart Tips for Grilling
Use a reliable summary for grill times across common thicknesses and doneness levels. For a method summary, review the steak grilling time chart during your next outdoor cook. It pairs grill times with pull temperatures for easy planning. Additionally, adjust those times up or down for your grill heat.
- Direct heat: Sear steak over direct high heat first for a crisp browned crust. Additionally, move steak away from flames when flare ups start.
- Indirect heat: Finish thick steaks over indirect heat for even cooking through the center. Moreover, close the lid to keep heat steady during this stage.
- Lid control: Keep the lid closed between flips to hold temperature and smoke flavor. Furthermore, open it only to flip, move, or check temperature.
- Flare management: Move steak to a cooler zone quickly when fat drips cause flames. Consequently, you protect the crust and avoid bitter charred spots.
Two zone grilling gives you control over flare ups and thick steaks. Build high heat on one side and cooler heat on the other. Sear steak over high heat first for crust and color. Additionally, finish steak over cooler heat for gentle center cooking.
Pan Searing for a Crisp Crust with the Steak Cooking Chart
Pan searing builds a deep brown crust through direct contact heat. First, pat the steak dry with paper towels before seasoning. Dry surfaces brown faster than wet surfaces in a hot pan. Next, season generously with salt and pepper just before cooking.
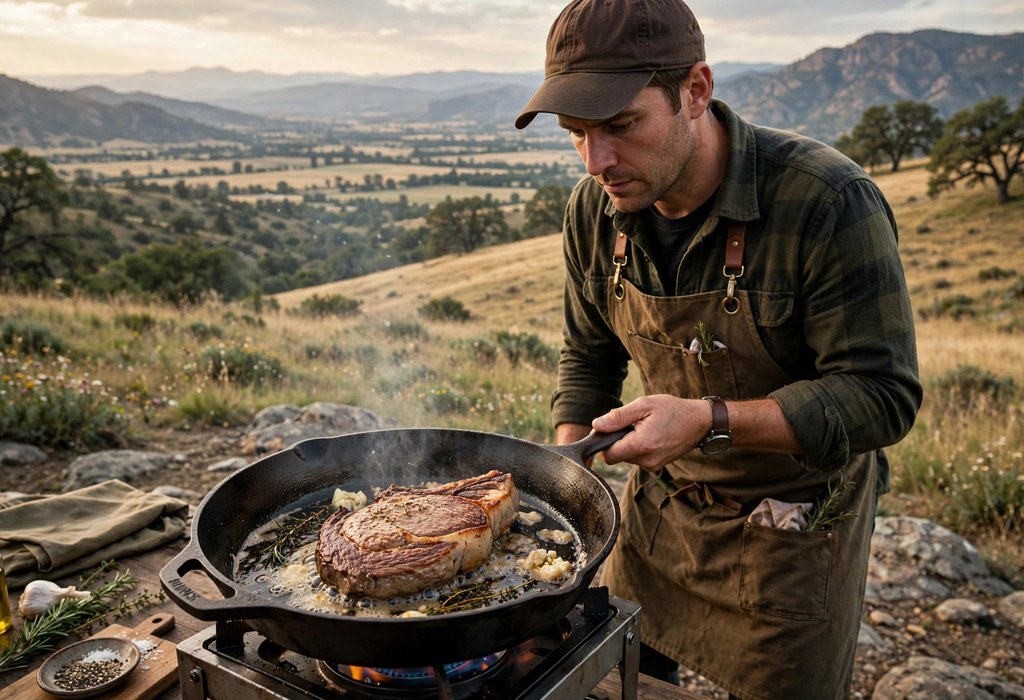
Heat a heavy pan until it feels very hot but not smoking heavily. Add a thin layer of high heat oil to the pan. Then lay the steak away from you to avoid oil splashes. Additionally, press the steak lightly so the whole surface touches the pan.
Let the first side sear without moving it for several minutes. A strong crust forms when the surface stays in contact with heat. Meanwhile, baste with butter near the end for extra richness. However, keep butter from burning by lowering heat slightly at that stage.
Pan times depend on thickness and your target doneness level. Thin steaks finish quickly, while thick steaks need oven finishing. For a concise method summary, consult the pan-seared steak cooking times before your next stovetop cook. It outlines timing patterns for common thicknesses and doneness levels.
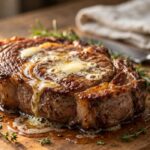
Butter basting adds richness during the last minute of pan cooking. Add butter only after the crust forms well on both sides. Spoon melted butter over the steak repeatedly for even flavor. Moreover, add garlic or herbs to butter for a simple flavor lift.
Oven Methods for Thick Steaks on the Steak Cooking Chart
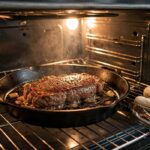
The oven gives thick steaks gentle, even heat through the center. First, sear the steak briefly in a hot oven safe pan. Next, transfer the pan directly into a preheated oven. Then check temperature early because thick steaks still cook quickly.
Reverse searing flips that order for very thick cuts. Cook the steak slowly in a low oven first. Then sear it quickly in a hot pan at the end. Additionally, this method gives you more control over the final temperature.
Low oven heat reduces the gray band under the crust. You get a more even pink center from edge to edge. Moreover, the final sear stays short and builds crust fast. Consequently, reverse searing suits steaks over one and one half inches thick.
Oven timing changes with steak thickness and oven temperature. Always use a thermometer rather than oven time alone. Check the steak cooking time chart for the oven before you cook thick steaks. It pairs oven temperatures with approximate times and pull temperatures.
Air Fryer Steak Basics on the Steak Cooking Chart
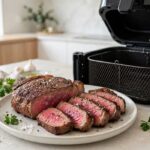
An air fryer circulates hot air quickly around the steak. First, preheat the air fryer for several minutes before cooking. Next, pat the steak dry and season it generously. Then place it in a single layer without crowding the basket.
Flip the steak halfway through cooking for even browning. Check temperature a few minutes before the expected finish time. Additionally, smaller baskets cook faster because air moves tightly around food. Meanwhile, let the steak rest after cooking just like grilled steak.
Air fryer results work best for steaks up to about one inch thick. Thicker steaks may brown outside before the center reaches target temperature. Review the air fryer steak time and temperature chart before your next cook. It helps you plan flips, checks, and resting for this method.
Oven thermometers help you verify true oven temperature before cooking. Many ovens run hotter or cooler than the dial setting shows. Therefore, check oven temperature with a separate thermometer occasionally. Additionally, adjust cooking time when your oven runs notably hot or cool.
How Thickness Changes Cooking Time on the Steak Cooking Chart
Compare these approximate cooking times by steak thickness to plan your cook, then use a meat thermometer to determine when the steak is ready.
| Steak Thickness | Approximate Cooking Time | Recommended Approach |
|---|---|---|
| ½ inch | 2–4 minutes per side | Quick, high-heat sear |
| ¾ inch | 3–5 minutes per side | Direct grilling or pan searing |
| 1 inch | 4–6 minutes per side | Grill or pan sear |
| 1½ inches | 5–8 minutes per side, then check | Sear and finish with gentler heat |
| 2 inches | 2–3 minutes per side to sear, then finish as needed | Reverse sear or oven finish |
Thickness drives cooking time more than weight does for steak. Heat must travel farther to reach the center of thick steak. Therefore, a thick steak needs lower heat or longer cooking time. Meanwhile, a thin steak cooks through quickly over high heat.
Measure thickness at the thickest point before you start cooking. Use that number to choose times from your chart. Additionally, uneven steaks cook unevenly unless you manage heat zones. For example, move thinner ends away from the hottest zone.
Butterflying a very thick steak can speed cooking in some cases. However, butterflying changes texture and presentation for serving. Consequently, many cooks prefer slow oven finishing for thick cuts instead. Choose the approach that matches your cut and your schedule.
Time adjustments stay approximate because grills and pans vary widely. For thickness based guidance, use the steak cooking times by thickness as your starting point. Then confirm every result with a thermometer before serving. Additionally, record adjustments that worked for your own equipment.
- Thin steaks: Cook thin steaks fast over high heat for a quick sear. Moreover, check temperature early because thin steaks overshoot quickly.
- Medium steaks: Use medium high heat for steaks near one inch thick. Furthermore, flip once and check temperature near the expected finish.
- Thick steaks: Start thick steaks with a sear, then finish with gentler heat. Consequently, the center reaches target temperature without burning outside.
Starting temperature also affects total cooking time for steak. Steak from the refrigerator needs more time than tempered steak. However, safety limits how long steak should sit at room temperature. Consequently, temper steak only during equipment preheating time.
Choosing and Using a Meat Thermometer with the Steak Cooking Chart
A reliable thermometer turns guesswork into repeatable steak results. Instant read thermometers give fast readings within a few seconds. Leave in probes track temperature continuously during oven cooking. Additionally, both styles help you pull steak at exactly the right moment.
Calibrate your thermometer occasionally with ice water for accuracy. Ice water should read near 32 degrees Fahrenheit when calibrated correctly. Moreover, replace batteries promptly when readings slow down or fade. In addition, store the probe clean and dry between cooks.
Insert the probe into the center from the side for best accuracy. Push it to the middle of the thickest part without touching bone. Then wait for the number to stop climbing before you read it. Finally, check a second spot if the first reading seems surprising.
Thermometer features matter less than accuracy and reading speed. For a feature comparison without brand claims, explore the best meat thermometers for steak before buying. It explains probe styles, speed, and accuracy in plain terms. Additionally, choose a model that feels easy to read at the grill.
Probe care extends thermometer life and keeps readings accurate. Wipe probes clean after each use with a damp cloth. Avoid submerging electronic handles in water during cleaning. Moreover, store probes in a protective sleeve between cooks.
Resting Steak for Juicier Results with the Steak Cooking Chart
Refer to this resting-time chart to estimate how long to let each steak rest before slicing and serving.
| Steak Size | Approximate Resting Time | Serving Tip |
|---|---|---|
| Thin steak, ½–¾ inch | 3–5 minutes | Slice just before serving |
| Standard steak, 1 inch | 5 minutes | Keep loosely covered if needed |
| Thick steak, 1½–2 inches | 5–10 minutes | Allow for carryover cooking |
| Large sharing steak | 10–15 minutes | Rest on a warm board |
Resting lets juices redistribute through the steak after cooking. Cutting too soon pushes juices onto the cutting board instead. Therefore, rest every steak before slicing, even thin steaks. Meanwhile, tent the steak loosely with foil to hold warmth.
Rest steaks for about 5 to 10 minutes in most cases. Thicker steaks benefit from the longer end of that range. Additionally, carryover heat continues cooking the center during resting. Consequently, the final temperature rises slightly after you pull steak.
Rest steak on a warm plate or cutting board away from drafts. Do not wrap it tightly because trapped steam softens the crust. Moreover, keep the resting spot close to your serving area. Finally, slice only after the resting time ends fully.
Resting time changes with steak size and serving plans. For a fuller explanation, read about how long to rest steak after cooking in the companion guide. It covers resting ranges for thin, thick, and large cuts. Additionally, it explains how carryover heat affects final doneness.
Large steaks need longer rests than individual steaks do. A large shared steak holds more heat and redistributes juice slowly. Therefore, rest large steaks toward ten minutes when possible. Meanwhile, keep individual steaks warm under loose foil tenting.
Matching Cuts to Cooking Methods on the Steak Cooking Chart
Different cuts bring different fat levels, tenderness, and best methods. Tender cuts cook quickly over high heat with great results. Tougher cuts benefit from gentler heat and longer cooking time. Additionally, fat content affects flavor, juiciness, and flare ups.
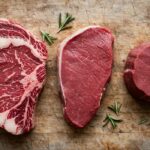
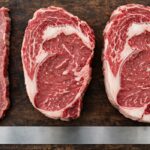
Ribeye offers rich marbling and strong beef flavor throughout. Sirloin gives leaner meat with firm texture and good flavor. Filet mignon offers extreme tenderness with milder beef flavor. Moreover, each cut responds differently to grill, pan, and oven heat.
Choose high heat searing for tender cuts like filet mignon. Use careful temperature checks for lean sirloin to avoid dryness. Meanwhile, let ribeye fat render fully for the best texture. Consequently, matching method to cut improves every steak you serve.
Cut choice also affects resting needs and slicing direction. See the ribeye, sirloin, and filet mignon cooking guide before your next purchase. It explains flavor, tenderness, and method matches for popular cuts. Additionally, it helps you pick a cut for your budget and taste.
Ribeye Notes
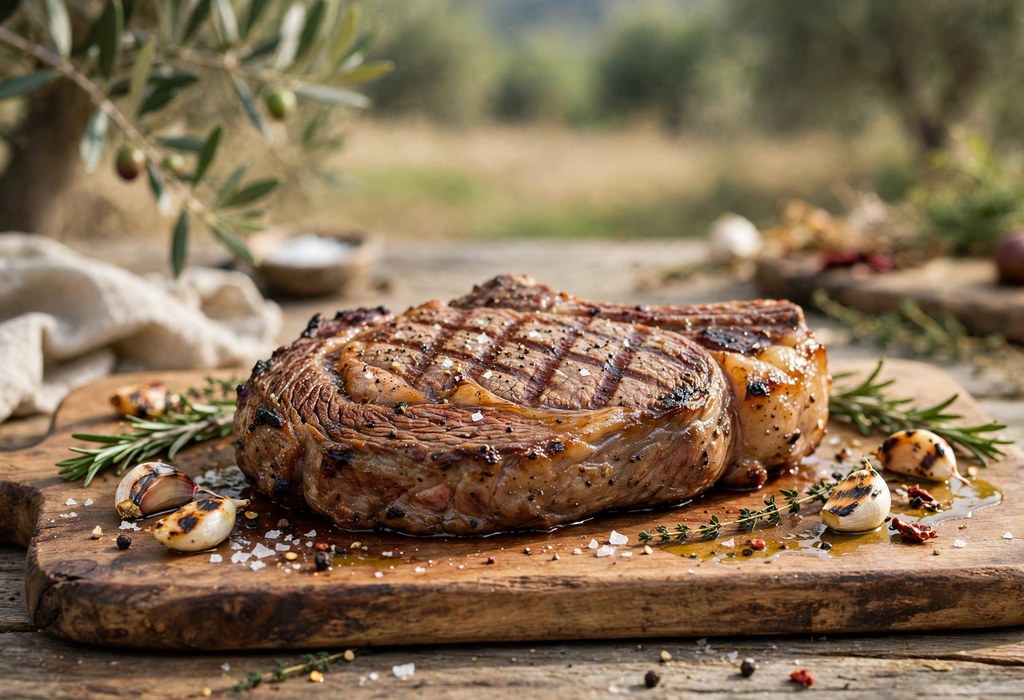
Ribeye marbling melts during cooking and bastes the meat naturally. Cook ribeye over high heat to render fat and build crust. Additionally, watch for flare ups because dripping fat ignites easily. Move ribeye to indirect heat when flames rise too high.
Sirloin Notes
Sirloin stays lean, so temperature control matters most for this cut. Pull sirloin promptly at your target temperature to preserve juice. Moreover, slice sirloin thinly across the grain for tenderness. In addition, a short rest keeps sirloin juicy at serving time.
Filet Mignon Notes
Filet mignon cooks quickly because it stays tender and relatively lean. Sear it fast over high heat, then check temperature early. Furthermore, wrap filet in bacon only if you enjoy that flavor addition. Otherwise, season simply and let tenderness shine through clearly.
Common Steak Cooking Mistakes
Many steak problems trace back to a few repeatable habits. First, avoid cooking steak straight from a very cold refrigerator. Cold centers cook unevenly and extend total cooking time sharply. Next, bring steak toward room temperature briefly before cooking.
Second, avoid pressing steak flat with a spatula during cooking. Pressing squeezes juices out and dries the meat quickly. Additionally, avoid cutting steak open to check doneness inside. Cutting releases juices and creates an uneven cooking surface.
- Cold steak: Start with steak near room temperature for more even cooking. Moreover, keep the wait short for food safety reasons.
- Wet surface: Pat steak dry before seasoning to encourage strong browning. Furthermore, dry surfaces sear faster in a hot pan.
- No thermometer: Check temperature with a thermometer instead of guessing doneness. Consequently, you avoid overcooking expensive cuts repeatedly.
- Skipping rest: Rest steak before slicing so juices stay inside each slice. Additionally, plan side dishes around this short waiting period.
- Wrong heat: Match heat level to thickness so outside and center finish together. Finally, adjust heat quickly when crust browns too fast.
- Overcrowding pan: Cook steaks in batches when the pan feels crowded. Similarly, crowded pans steam meat instead of searing it well.
A Simple Step by Step Cooking Plan
Follow one clear plan from fridge to plate for consistent results. First, choose your cut, target doneness, and cooking method. Next, measure thickness and note your pull temperature target. Then gather your thermometer, tongs, and resting plate early.
Season the steak generously just before cooking begins. Preheat your grill, pan, oven, or air fryer fully first. Additionally, keep the cooking area clear for safe flipping. Meanwhile, prepare side dishes so they finish near steak resting time.
Sear the steak, flip as planned, and check temperature early. Move steak to gentler heat when the outside browns too fast. Moreover, pull steak a few degrees below your final target. Finally, rest the steak, slice it, and serve it promptly.
After serving, record what worked for your next cook. Note the cut, thickness, method, pull temperature, and rest time. For example, record grill heat levels that gave the best crust. Consequently, each cook builds skill for the next steak dinner.
Using a Printed Chart in the Kitchen
A printed chart keeps temperatures visible without touching a phone. Greasy hands stay off screens when you use paper instead. Additionally, paper charts survive splashes better than phone screens do. Keep your chart near the stove or grill for fast reference.
Choose a chart layout that matches your cooking style best. Some cooks prefer one page with temperatures only. Other cooks prefer method sections with times and temperatures together. Moreover, large print helps you read numbers quickly during cooking.
Print your chart on sturdy paper if you cook outdoors often. Laminated charts resist moisture and wipe clean after cooking. For a ready to print version, get the printable steak cooking chart from the companion guide. It formats temperatures and times for easy kitchen use.
Seasoning and Preparation Before Cooking
Seasoning works best when salt reaches the meat surface evenly. First, pat the steak dry, then season all sides generously. Next, add pepper just before cooking to avoid bitter flavors. Finally, let seasoned steak sit briefly while equipment preheats.
Salt draws moisture out at first, then moisture moves back inside. A short rest after salting still gives you good seasoning results. Additionally, a longer salt rest can improve flavor for thick steaks. Meanwhile, keep the steak covered loosely during any waiting period.
Oil belongs on the steak or the pan, not both heavily. A light oil coat helps seasoning stick and prevents sticking. Moreover, high heat oil handles searing temperatures better than butter alone. Consequently, save butter for basting near the end of cooking.
Bring steak toward room temperature for a short period before cooking. A cold center cooks unevenly and needs extra time on heat. However, keep this waiting period short for food safety reasons. Therefore, set steak out only while you preheat equipment and prepare sides.
Building a Great Crust with the Steak Cooking Chart
A great crust comes from dry surfaces, high heat, and patience. First, dry the steak thoroughly with paper towels before seasoning. Next, preheat the pan or grill until heat feels strong and steady. Then place the steak down and resist moving it early.
The Maillard reaction creates brown color and deep savory flavor. It needs high heat and a dry surface to work well. Additionally, sugar in marinades can burn quickly over high heat. Consequently, wipe off excess marinade before searing steak.
Flip steak when the crust releases easily from the cooking surface. Forcing a stuck steak tears the crust and loses flavor. Meanwhile, check color at the edges for early browning clues. Furthermore, adjust heat down quickly if browning turns too dark.
A crust should stay crisp after resting for best texture. Rest steak uncovered or loosely tented to protect that crust. Moreover, avoid stacking steaks during resting because steam softens crusts. Finally, slice just before serving to keep each piece crisp edged.
Slicing and Serving Steak Well
Slicing direction changes tenderness more than many cooks expect. First, look for the grain lines running through the meat. Next, slice across those lines rather than along them. Then cut slices of even thickness for consistent texture.
Thin slices suit firmer cuts like sirloin especially well. Thicker slices suit tender cuts like filet mignon nicely. Additionally, fan slices on a warm plate for attractive serving. Moreover, spoon resting juices over slices for extra flavor.
Serve steak promptly after slicing to preserve warmth and juice. Cold plates cool steak quickly and dull flavor perception. Therefore, warm plates briefly before plating if time allows. Meanwhile, finish side dishes so everything reaches the table together.
Pair steak with simple sides that complement rich beef flavor. Roasted vegetables, salads, and potatoes all work well here. Furthermore, a light sauce can enhance steak without hiding its flavor. Consequently, keep accompaniments simple and let steak lead the meal.
Storing Leftovers and Reheating Steak
Store leftover steak promptly in a sealed container after serving. First, cool leftovers briefly, then refrigerate them within two hours. Next, slice leftovers only when you plan to reheat them. Finally, label the container with the date you cooked the steak.
Reheat steak gently to protect tenderness and juiciness. Low oven heat warms steak evenly without overcooking the center. Additionally, a quick sear after warming restores some crust texture. Meanwhile, check temperature during reheating to avoid drying the meat.
Slice cold leftover steak thinly for salads and sandwiches. Thin slices feel tender even when the steak cools fully. Moreover, leftover steak works well in wraps with fresh vegetables. Consequently, plan leftovers as a second meal rather than waste.
Freeze leftover steak only when you cannot use it quickly. Wrap portions tightly to limit freezer burn and moisture loss. Furthermore, thaw frozen steak in the refrigerator before reheating. Finally, reheat thawed steak gently and serve it promptly.
Frequently Asked Questions
What temperature is medium rare steak?
Pull medium rare steak near 130 to 135 degrees Fahrenheit.
How long should you rest steak before slicing?
Rest most steaks for about 5 to 10 minutes before slicing.
What temperature should steak reach for safe eating?
Cook steak to at least 145 degrees Fahrenheit, then rest it briefly.
How do you check steak doneness without cutting it?
Insert a thermometer into the thickest part and read the center temperature.
Why does steak temperature rise after cooking?
Carryover heat continues cooking the center during the resting period.
Conclusion
You now hold a clear chart for steak doneness across methods. Use temperature as your guide, time as backup, and resting as finish. Additionally, practice with one cut and one method first. Soon you will cook steak confidently for any occasion.
Start your next cook with this chart beside you. Choose your doneness, check temperatures early, and rest the steak fully. Moreover, share this chart with friends who love great steak. Finally, enjoy juicy, flavorful steak at every meal you cook.