

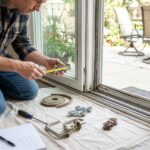
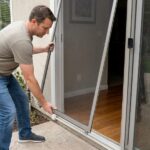
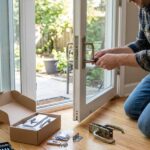


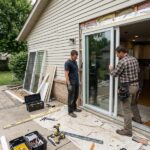



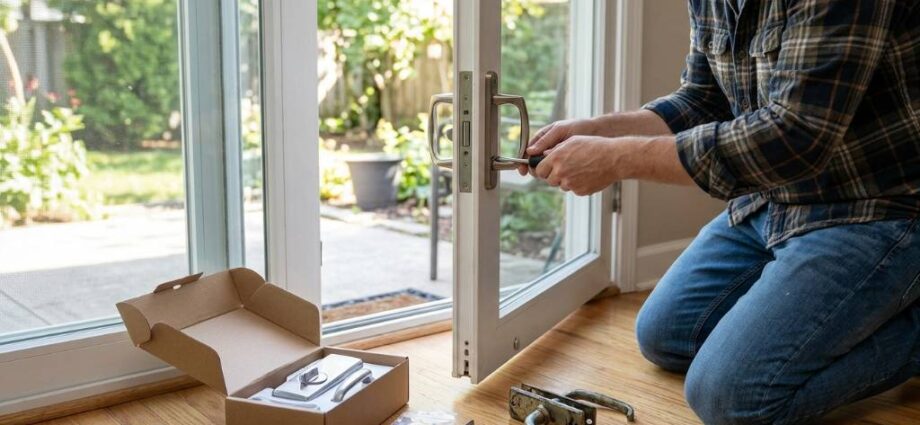
Patio door lock replacement usually takes under an hour with basic tools. Most locks are secured by a few screws accessible from the edge of the door. Matching the new lock to your door’s existing hardware is the key step.
A failing or outdated lock is a security risk that’s easy to overlook. Many homeowners don’t think about it until the latch stops catching or the handle feels loose. This guide walks through everything needed to replace a patio door lock correctly.
Types Of Patio Door Locks
Mortise locks are common on sliding doors and sit inside a cutout in the frame. They typically include a key cylinder along with the latch mechanism. These locks are known for solid security performance.
Hook latch locks use a curved hook that grabs onto a strike plate. This design resists forced prying better than simple latch systems. Many newer sliding doors come equipped with this style.
Keyed handle sets combine the handle and lock into a single unit. These are common on hinged or French doors. Replacing the handle often means replacing the lock mechanism too.
Add-on security bars and pins provide extra protection without replacing the main lock. These are inexpensive and simple to install. They work well as a supplement rather than a full replacement.
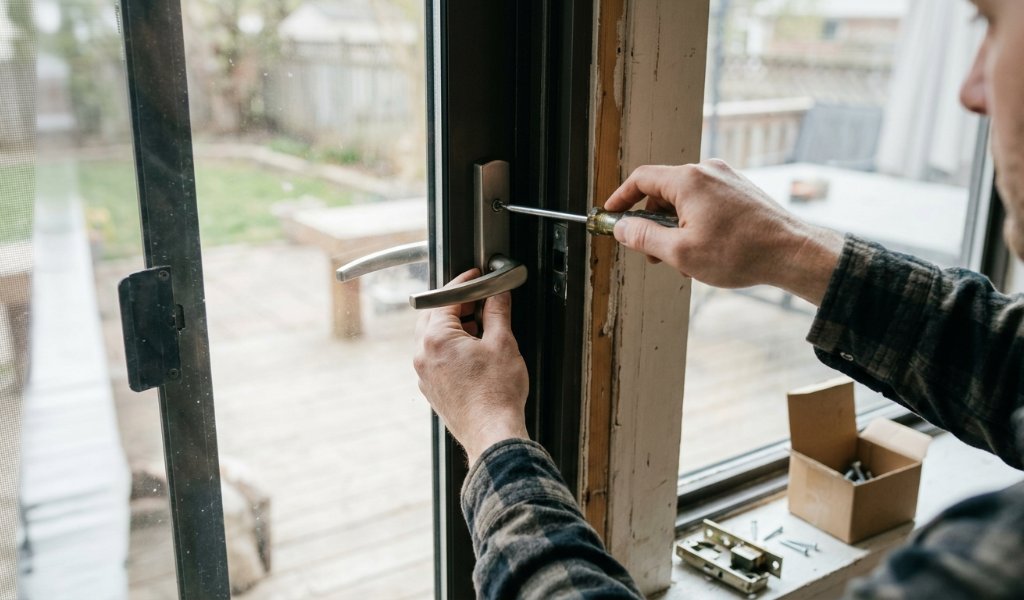
How To Identify Your Current Lock
Start by removing the existing lock to check for a brand or model stamp. Most manufacturers imprint this information directly on the mechanism. This makes finding an exact replacement much easier.
If no markings are visible, measure the lock’s dimensions carefully. Note the distance between screw holes and the overall shape. Bring these measurements with you when shopping for a replacement.
Photographing the lock from multiple angles also helps when comparing options online or in store. This avoids confusion between similar looking models. A clear picture answers most questions a hardware associate might ask.
Tools And Materials
A Phillips screwdriver handles most standard lock screws. Keep a flathead screwdriver nearby as a backup option. Some locks also require a small Allen wrench for adjustment screws.
Having the replacement lock ready before starting saves time. Read the included instructions fully before removing the old hardware. This helps you understand how the new mechanism differs from the old one.
Removing The Old Lock
Begin by removing any visible screws on the interior side of the handle. Gently pull the handle assembly away from the door once loosened. Set screws aside in a small container to avoid losing them.
Next, remove the latch mechanism from the edge of the door panel. This usually involves two or three screws holding it in place. Take note of orientation before fully removing it.
Inspect the cutout area for damage or wear once the old lock is out. Clean away any debris or old caulk residue. This ensures a clean fit for the new hardware.
Installing The New Lock
Insert the new latch mechanism into the existing cutout first. Confirm it sits flush and matches the original orientation. Secure it with the screws provided in the new lock kit.
Attach the new handle assembly on both sides of the door. Align the spindle through the latch mechanism carefully. Tighten screws evenly to avoid warping the handle plate.
Test the mechanism before fully tightening everything down. The latch should move smoothly without sticking or binding. Make small adjustments now rather than after full installation.
Testing And Aligning The Latch
Close the door and check whether the latch lines up with the strike plate. A small misalignment is common and easy to fix. Loosen the strike plate screws slightly and adjust its position.
Test locking and unlocking several times to confirm smooth operation. The key, if applicable, should turn without resistance. Any grinding or sticking means further adjustment is needed.
If the latch still doesn’t align properly, check the door panel height. This connects back to roller adjustment rather than the lock itself. Fixing panel height often resolves lingering latch issues.
Extra Security Tips
Consider adding a secondary lock or security bar for additional protection. These are inexpensive and easy to install alongside your main lock. They add a meaningful layer of security against forced entry.
Keep locks lubricated with a light silicone spray for smooth operation. Avoid heavy oils, which attract dust and grime over time. This simple habit extends the lifespan of your lock significantly.
If the frame itself is weak or damaged, a new lock alone won’t solve your security concerns. Upgrading to replacement patio doors with modern multi-point locking systems may be a better long-term fix. This addresses both the hardware and the structural issue together.
Frequently Asked Questions
How Long Does Patio Door Lock Replacement Take?
Most replacements take under an hour with basic tools on hand.
Can I Use A Universal Lock On Any Patio Door?
Not always, since dimensions and mounting patterns vary between manufacturers and models.
Why Won’t My New Lock Latch Properly?
Misalignment with the strike plate is the most common cause of this issue.
Do I Need A Locksmith For This Job?
No, most homeowners can handle this replacement without professional help.
How Often Should Patio Door Locks Be Replaced?
Replace locks every ten to fifteen years or sooner if they feel loose.
Final Thoughts
Patio door lock replacement is a manageable project that significantly improves home security. Taking time to measure and match your hardware correctly prevents frustrating return trips. A properly installed lock should operate smoothly for many years.
If your current lock feels unreliable, don’t wait until it fails completely. Pick up a replacement and get it installed this weekend.