




A printable steak reference chart puts temperatures, times, and resting guidance on one quick reference page. Additionally, it helps you check doneness without searching through recipes during cooking. Therefore, you can cook with more confidence and serve steak at the doneness you want.
First, a strong chart groups information by doneness, thickness, and cooking method for fast scanning. Next, it shows pull temperatures beside final temperatures so you can account for carryover heat. Finally, it keeps resting times visible so you do not slice too early. Moreover, a clear layout prevents mistakes when the pan heats up fast.
What a Good Printable Reference Chart Shows
A useful steak cooking chart answers three questions at a glance for any steak you cook. First, it states the target temperature for each doneness level in plain numbers. Next, it links those temperatures to cooking times for common methods and thicknesses. Finally, it reminds you to rest the steak before slicing.
Additionally, a good chart stays simple enough for use beside a hot grill or stove. Moreover, it uses large type, clear rows, and short labels for fast reading. Consequently, you spend less time reading and more time watching the steak cook.
Temperatures by Doneness Level on the Printable Reference Chart
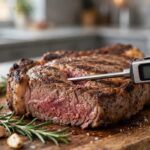
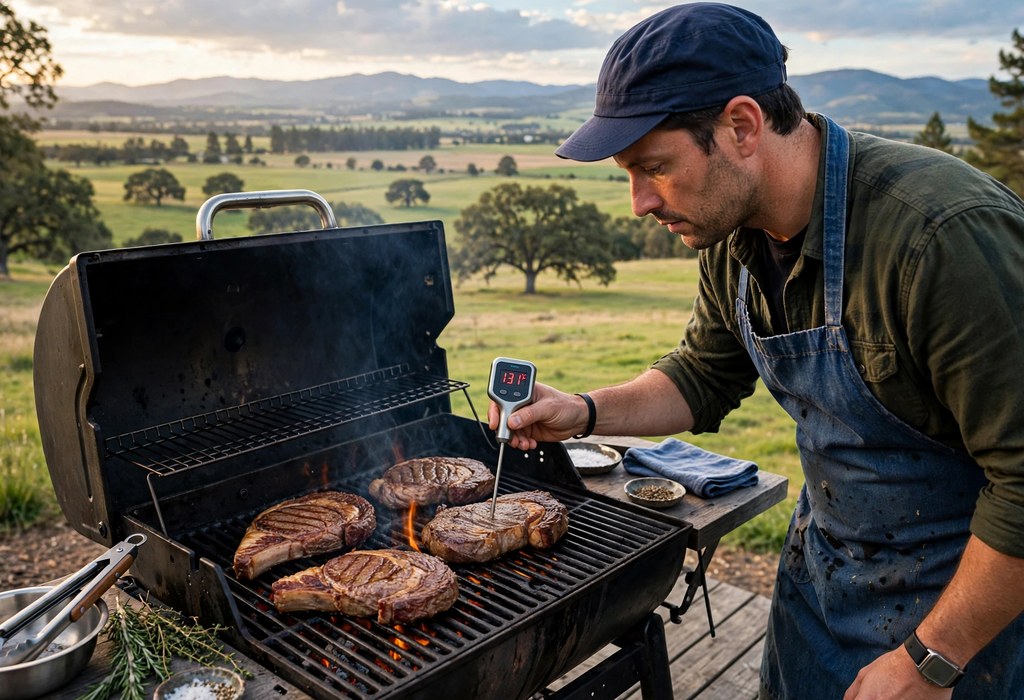
Temperature gives the most reliable guide to doneness for every steak cut. First, insert a thermometer into the thickest part of the steak for an accurate reading. Next, compare that reading with the chart row for your chosen doneness level. Finally, pull the steak before it reaches the final target temperature.
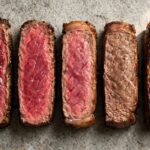
- Rare: First, pull the steak near 120 to 125 degrees for a cool red center.
- Medium-Rare: Next, pull the steak near 130 to 135 degrees for a warm red center.
- Medium: Additionally, pull the steak near 135 to 145 degrees for a warm pink center.
- Medium-Well: Furthermore, pull the steak near 145 to 155 degrees for a slightly pink center.
- Well-Done: Finally, cook the steak to 155 degrees or higher for a fully brown center.
The USDA minimum gives a firm safety baseline for every steak you serve. Additionally, cook steak to at least 145 degrees and then rest it for a short period. Moreover, carryover heat typically raises the temperature by 3 to 5 degrees after cooking. Consequently, your pull temperature should sit slightly below your final target temperature. Look at the cchart below:
Approximate times for grilling or pan-searing steak over medium-high to high heat.
| Steak Thickness | Rare | Medium-rare | Medium | Well-done |
|---|---|---|---|---|
| ½ inch | 2 min/side | 2–3 min/side | 3 min/side | 4 min/side |
| ¾ inch | 2–3 min/side | 3–4 min/side | 4–5 min/side | 5–6 min/side |
| 1 inch | 3 min/side | 4–5 min/side | 5–6 min/side | 6–7 min/side |
| 1½ inches | 4–5 min/side | 5–6 min/side | 6–7 min/side | 8–10 min/side |
| 2 inches | Sear, then finish as needed | Sear, then finish as needed | Sear, then finish as needed | Sear, then finish as needed |
Cooking Times by Method and Thickness
Cooking times change with thickness, method, and starting temperature of the steak. First, check the chart column for your method before you start cooking. Next, find the row that matches your steak thickness most closely. Finally, use time only as a guide and confirm doneness with a thermometer.
- Grilling: First, sear the steak over high heat and then move it to gentler heat.
- Pan-Searing: Next, heat the pan until hot and sear each side until browned.
- Oven Finishing: Additionally, finish a thick steak in a hot oven after searing it.
- Reverse Searing: Furthermore, cook a thick steak slowly first and then sear it last.
Thickness matters more than many cooks expect during a busy cook. Additionally, a thicker steak needs more time for heat to reach its center. Moreover, a thinner steak cooks quickly and can pass your target temperature fast. Therefore, check thin steaks early and check thick steaks at several points.
Resting Guidance on the Printable Reference Chart
Resting lets juices settle and helps the steak finish cooking gently after heat. For example, the chart should show a clear rest range beside each doneness row. Additionally, read how long to rest steak after cooking before you serve the steak. Meanwhile, keep the steak on a warm plate while it rests.
Most steaks need about 5 to 10 minutes of rest before slicing. Additionally, a longer rest suits thicker steaks and larger cuts with more heat inside. Moreover, slicing too early spills juices onto the board and dries the meat. Consequently, build rest time into your cooking plan from the start.
How to Use the Printable Reference Chart While You Cook
Keep the chart where you can see it without leaving the cooking area. For example, place it on a counter edge, a fridge door, or a nearby shelf. Additionally, a clear steak cooking chart helps you compare temperatures quickly during a busy cook. Meanwhile, check the chart before you flip the steak or test its temperature.
Start with doneness first and then work across to method and thickness. For example, choose your target doneness before the steak hits the heat. Additionally, a detailed steak doneness temperature chart clarifies the exact range for each level. Next, follow that row across to the time guide for your method.
Check temperature early when the steak nears the expected finish time. Additionally, insert the thermometer from the side for thin steaks and from the top for thick steaks. Moreover, repeat the check in a second spot when the first reading surprises you. Therefore, you avoid guessing and you protect the doneness you want.
How to Keep the Printable Reference Chart Easy to Use
A chart works best when its layout matches how you cook in real time. First, group doneness rows in order from rare to well-done for quick scanning. Next, keep method columns in the same order every time you use the chart. Finally, highlight pull temperatures so they stand out from final temperatures.
- Large Type: First, use large type so you can read numbers from a short distance.
- Color Bands: Next, use color bands to separate doneness rows at a glance.
- Short Labels: Additionally, keep labels short and avoid extra words in each row.
- Notes Space: Furthermore, leave space for personal notes about your grill or pan.
Personal notes turn a general chart into a tool for your own kitchen. Additionally, note which pan heats fastest or which grill runs hottest in your setup. Moreover, record any timing change that worked well for a thick steak. Consequently, future cooks grow easier and more consistent over time.
Frequently Asked Questions
What temperatures belong on a steak chart?
Additionally, include pull temperatures, final temperatures, and the USDA minimum of 145 degrees.
How do I read a steak chart quickly?
First, find your doneness row and then follow it across to your method.
What is the difference between pull temperature and final temperature?
Pull temperature marks the removal point, while carryover heat raises the final temperature afterward.
How long should steak rest before slicing?
Most steaks need 5 to 10 minutes of rest before you slice them.
Can one chart cover different steak thicknesses?
Yes, a good chart groups times by thickness so you can adjust cooking quickly.
Conclusion
Keep your chart visible and check it before each cook for steady results. Additionally, trust temperature over time when the two guides disagree. Finally, start with one doneness level and refine your timing from there.